
This time last year, I posted about a super easy, cheap, and awesome fundraiser. At the time, I thought I was just sharing a small handy idea, but it went VIRAL! Since the original post, I have sold over 3,350 bracelets in the form of a DIY kit, so I thought it would be the perfect time to revisit, and repost the instructions!
I have learned since the first batch, that waxed cotton cord works WAY better for staying in place, and is easier to tie knots in- so you will not that change below :)
If you have ever spent time over in the orient, you know about wish bracelets. The legend says that you tie one on (over in Thailand they are actually red string) and make a wish- when it wears off, your wish comes true! Now, over the years I had completely forgotten about those cute little bracelets, until I went through some old boxes while organizing and found one! And, as usual I said...
Oh! There's a fundraiser in that!
I really do say that out loud in case you are wondering. True story.
So anyway, I went to work figuring out how to make these little do dads, and it turns out- SUPER easy, and SUPER cheap! So hey- what kind of Relay friend would I be if I didn't tell you how you can do it to?

Here's what you need (but remember- be creative- if you have something similar in your craft pile or can get it donated- even better!)

- 4 by 6 Cardstock (I chose to order postcards from Overnight Prints - it ended up being better quality than printing them at home)
- A hole punch (I like this one, because it punches small holes and looks really professional!)
- Scissors (UH PURPLE ONES! Fiskars are my favorite, they last forever, and can handle being sharpened)
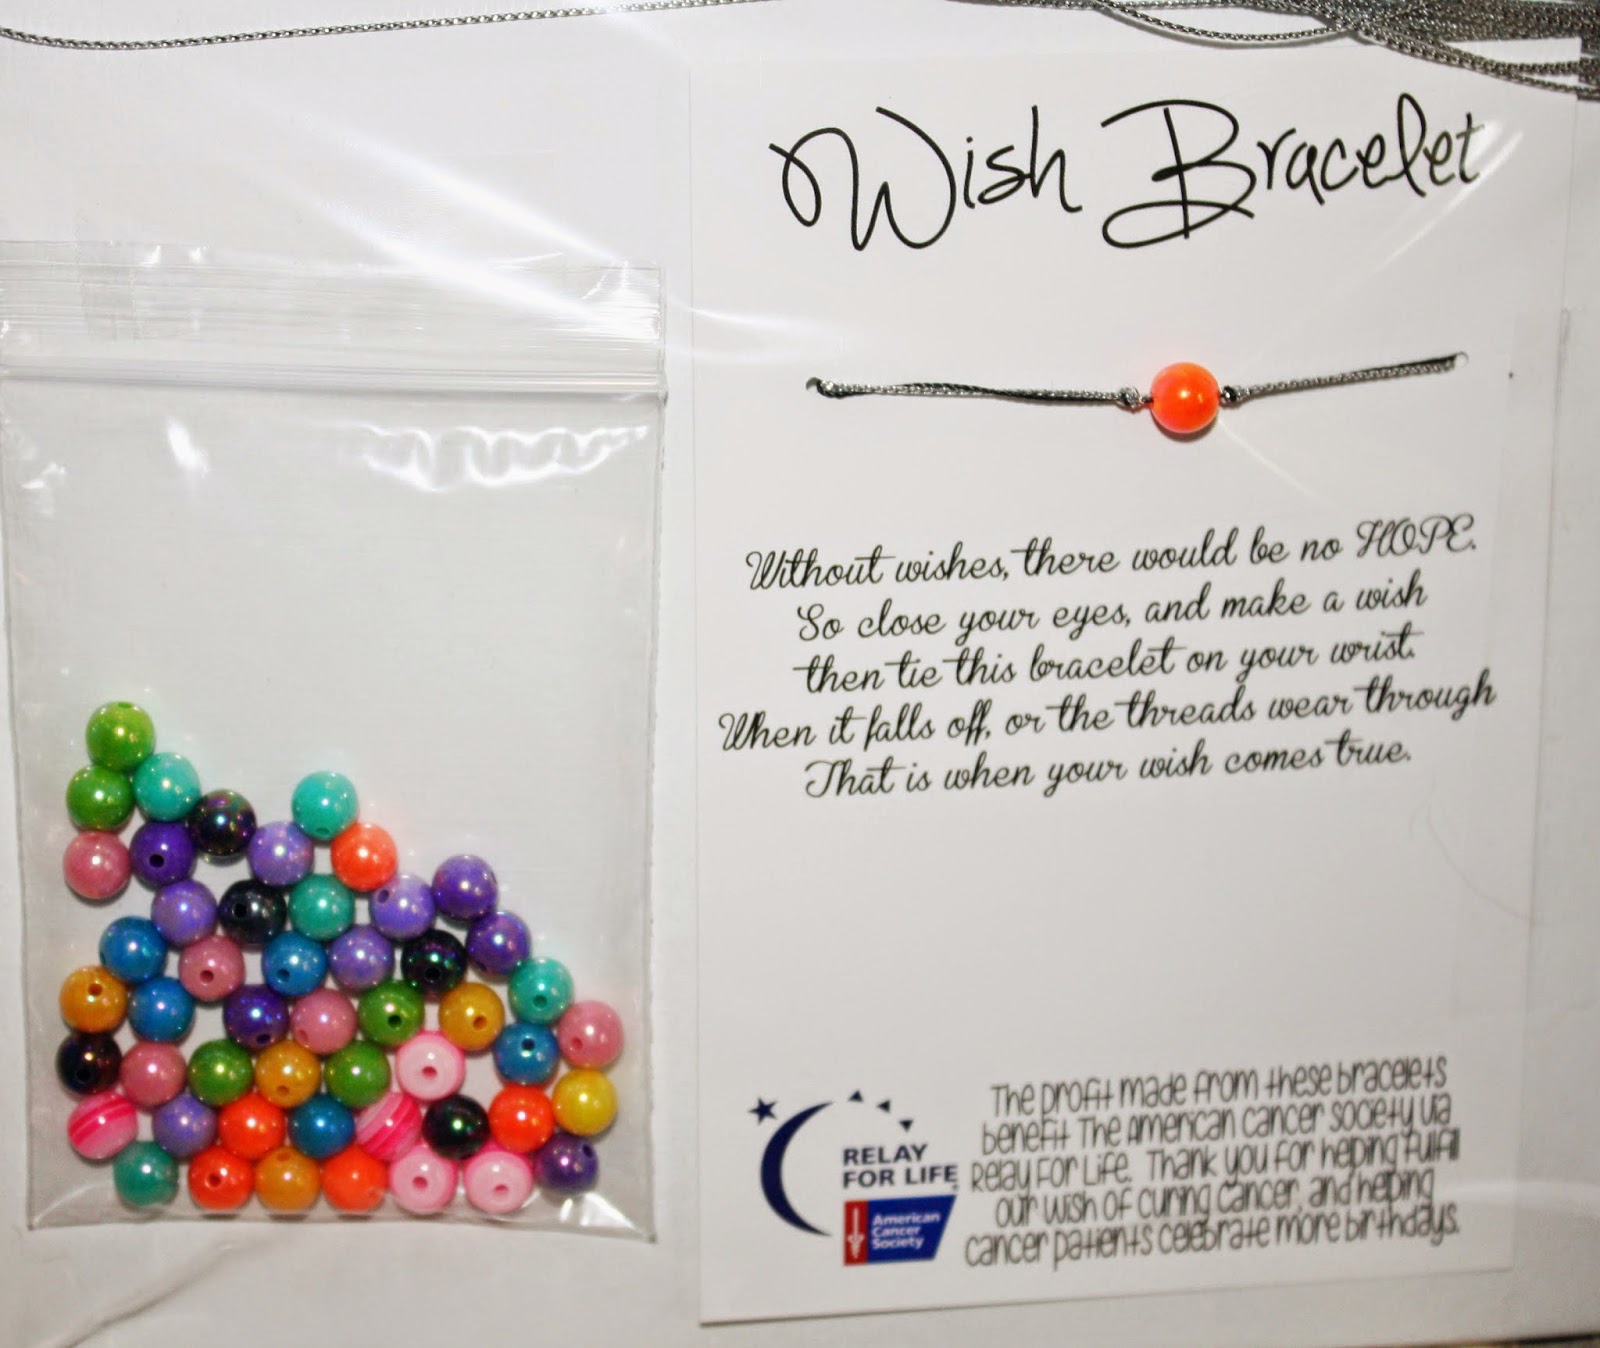
- 8mm round beads with a 1mm hole (I use purple cat's eye, but have found many people like multi colored ones)
- 1mm waxed cotton cord (the purple stuff in the photo above)
**note** if you are buying your stuff at a local craft store, hemp works well to!
OK, here we go.
This is so easy you are going to want to kiss me.
Thread both strings through your bead.

Tie a simple knot on the right side of the bead (make sure it is centered)

It will look like this when you pull it tight.

Then tie another simple knot on the left side of the bead.

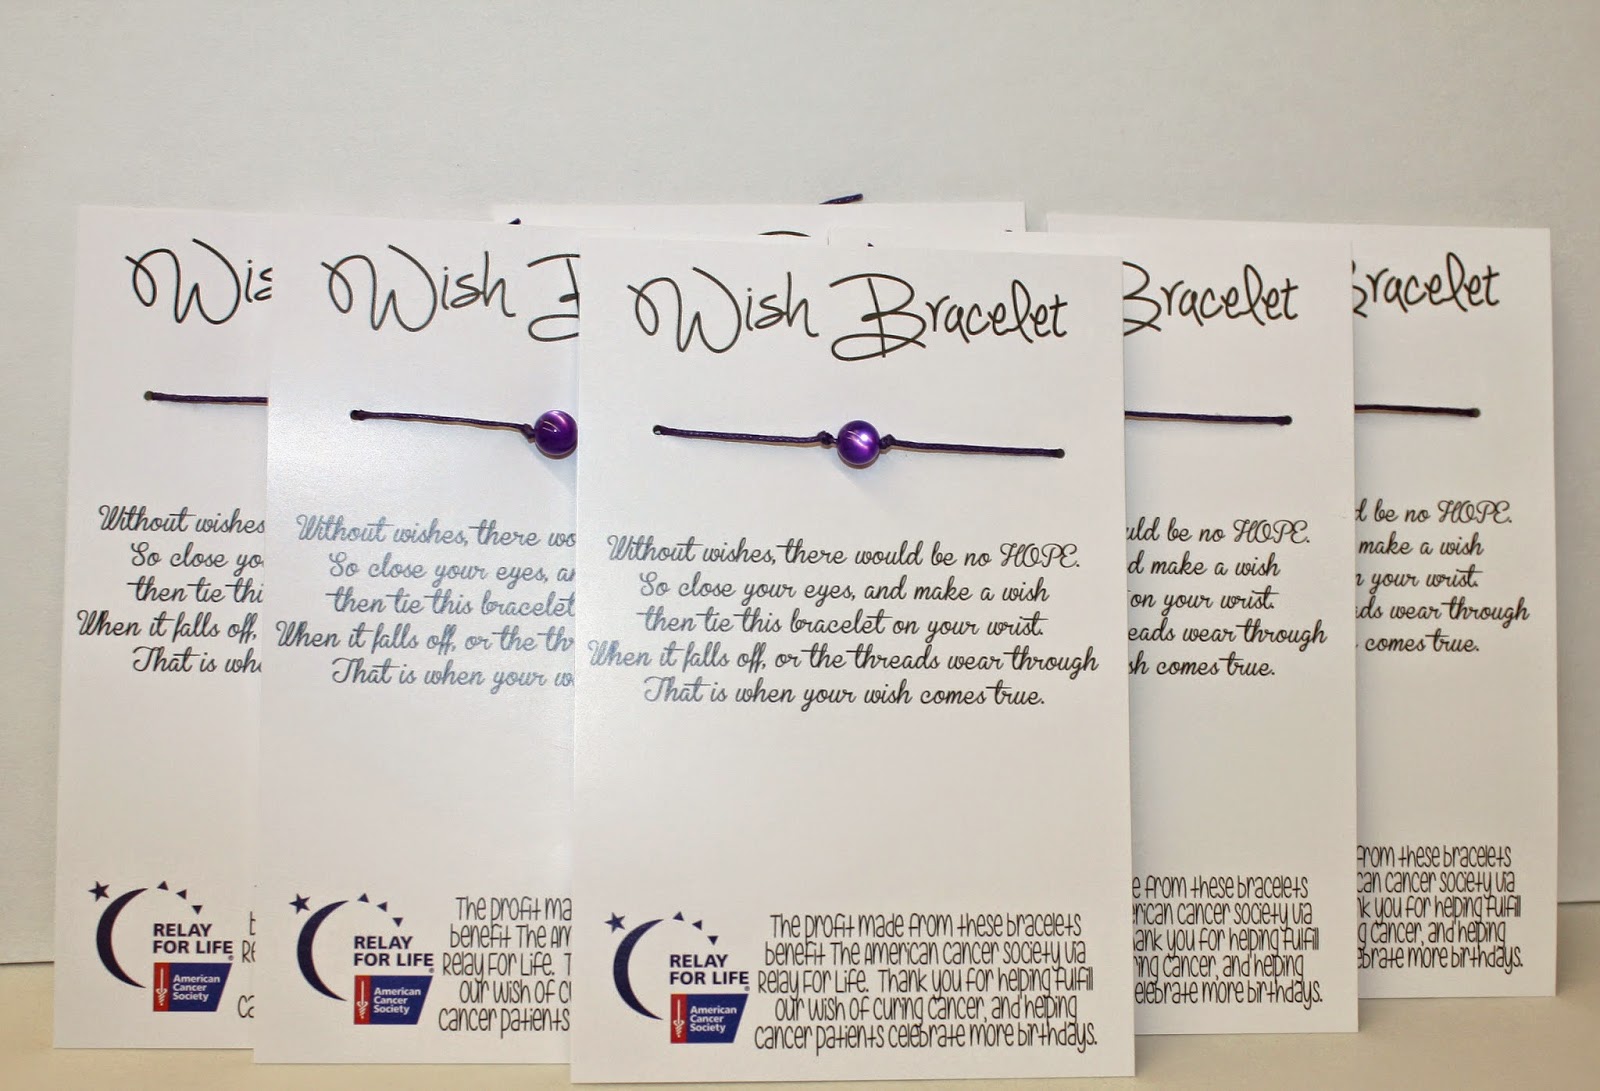
Punch holes to string the bracelet through on your card.

String the bracelet through the holes you just punched. Tie left over string in a bow in the back.

Now flip it back over and admire your handy work. Isn't that the easiest thing ever!?!?
Not
only are these awesome to sell as an easy fundraiser, but they would
make great survivor gifts for your events (I have seen a few titled "A
Survivors Wish"). And, if you don't have the time to make them
yourself, I have a bulk pack listed on Etsy that you can buy for super cheap! Happy crafting loves!
What little amount I make from the kits gets donated to Relay For Life! 


