Wes: Mom, can we have a Halloween party?
Me: That might be a good idea, we can think about that.
Wes: Good- because I told my whole class yesterday that we are having a Halloween party!
So! We are having a Halloween party for Wes and all of his little friends. Now, if you know me, you know I can't just have a simple Halloween party, I have to have (what my husband lovingly calls) a Halloween party on steroids!
I thought it would be fun to share some of my crafty projects for those of you that are planning Halloween get togethers as well. I always make sure my projects are kid friendly, because crafting is more fun when you do it with another person, and my little helper is always Wes!
Today I am going to show you how to spruce up some boring juice boxes and turn them into fun mummys!
Here is what you will need:
-1 roll of white Duck Tape
-Sticky eyes (I bought mine from Oriental Trading )
*Note- you could use googly eyes to, but to me, hot glue and a 6 year old is an accident waiting to happen.
-Juice Boxes (I get Juicy Juice, because they have Box Tops, and the school collects them)
Step one.. remove all of the straws from the juice boxes (you'll want to use them to drink with later after all!)
Next, you will want to get your Duck Tape ready... You will want to leave some pieces big for the bottom, and tear some of the others in half to make wrapping easier for little hands...
Wrap the bottom part of the box with a regular (untorn) strip of Duck Tape- it makes wrapping the rest easier.
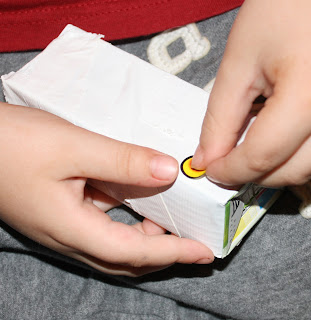
Then continue wrapping the box in any random way you want until it is covered.. just remember to leave an opening to put the straw in later!
Last but not least, add some silly sticky eyes to finish off your mummy!
That's it! How fun and easy is this project? Now go get crafty!
XO Cass


